How to use the autopilot in a flight simulator: heading, altitude, speed and the landing
What heading, altitude and speed holds really do, how to let Open Flight World's autopilot fly the approach and land, and how to copy it with your own hands.
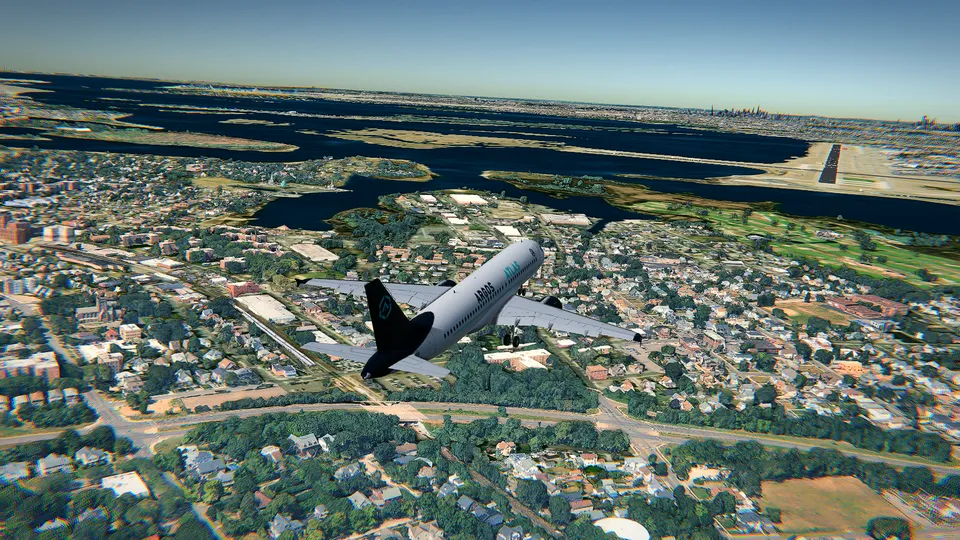
Most people learning to fly in a simulator treat the autopilot as the lazy option: switch it on and the lesson is over. I see it the other way round. An autopilot flies the same approach every time, at the same speed, down the same path, correcting in small amounts instead of big ones, and that is exactly the thing you cannot show yourself while you are busy getting it wrong. Watch it once from outside the aircraft, see what a stable approach looks like, then take the controls and copy it.
So this guide is about the autopilot as a teacher, not as a replacement for you. What an autopilot actually holds, how to let it fly the approach and land in Open Flight World, and how to turn the demonstration into your own landing.
An autopilot holds numbers, that is all
Strip away the panels and the acronyms and an autopilot is a machine that holds a number by moving a control. Three of those numbers matter to a student, and they are the ones you will hear named in any cockpit.
Heading hold. The aircraft keeps pointing at one bearing, say 070°. It does it with the wings: a few degrees of bank to turn, then level again. What you learn from watching it is how little bank a correction needs. A heading that drifts by three degrees is fixed with a touch of roll, not with a turn.
Altitude hold. The aircraft stays at one height, say 3,000 feet. It does it with the elevator, and the price is paid in speed: hold the nose up to stop a descent and the speed bleeds away unless the power comes up too.
Speed hold. The aircraft keeps one airspeed, say 65 knots on final in a Cessna. Depending on the aircraft it does this with the throttle, or with the nose.
That last pair is the real lesson. Height and speed are not two independent dials: they are one thing, traded against each other. On an approach in a light aircraft the useful way to think is the one instructors teach, power for how fast you go down, nose for how fast you go forward. Watching an autopilot fly a glide path is watching that trade being made, smoothly, several times a second.
One key, and a good seat
In Open Flight World the autopilot is a switch rather than a wall of mode buttons: A on the keyboard, Y on an Xbox controller, triangle on a PlayStation one. Press it again and the aircraft is yours. Every key and button is in the controls cheat sheet.
What it does is the part that makes it worth watching. Every runway in the simulator has its localizer and a 3° glide path, so you pick a runway, hand it over, and it flies the approach, flares, and stops on the centreline, braking and using reverse thrust on the aircraft that have it.
Before you hand it over, set yourself up to actually see something:
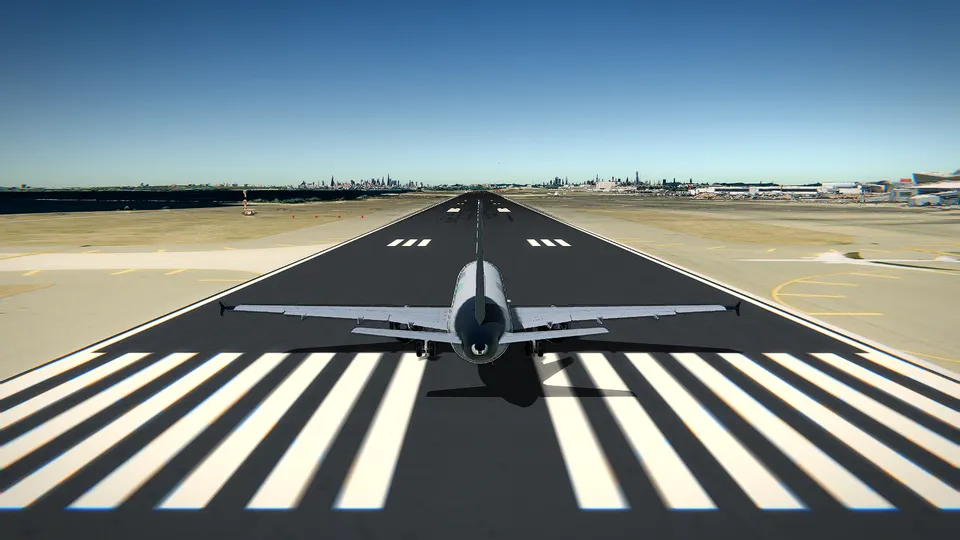
- Start on final. In the simulator, choose the Landing position: you begin lined up with the runway, a few miles out. One demonstration takes a couple of minutes, and R starts it again.
- Fly the free one first. The Cessna 172 at London City costs nothing, needs no account and has one runway along the docks, 1,508 metres long, which is plenty for a Cessna. The other nine aircraft and the rest of the airports are on the pricing page.
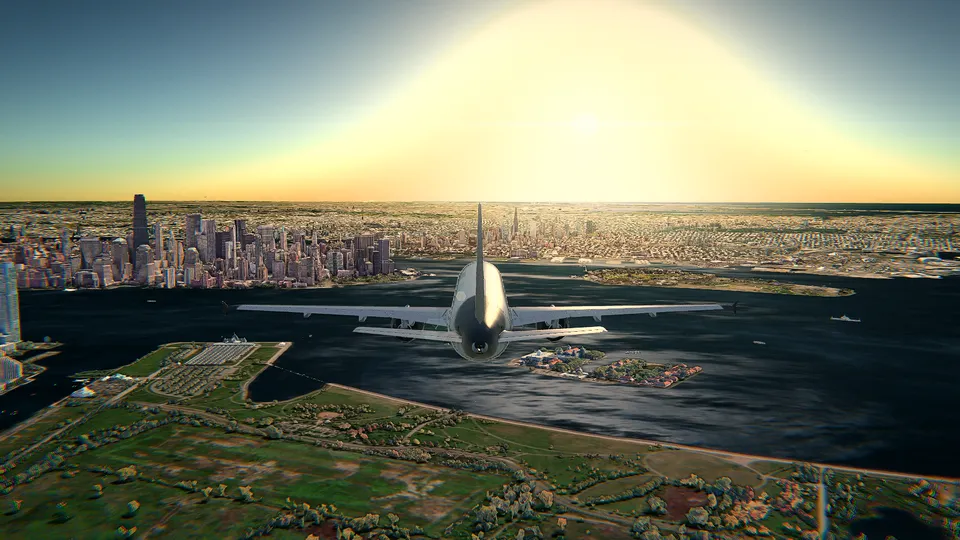
- Get outside the cockpit. C cycles to the chase camera. From behind the aircraft you can see the runway, the attitude and the sink rate all at once, which is the whole point.
- Keep the HUD on with H, so the speed and height are in front of you, and whichever of the three graphics settings your machine chose, the demonstration looks the same.
Then press A and sit on your hands. That part is harder than it sounds.
What to watch, in this order
A first viewing is wasted if you just enjoy the scenery. Watch one thing per run.
- The speed. It should sit on a number and stay there, not saw up and down. In the Cessna that number is about 65 knots with full flaps.
- The aim point. The start of the runway stays in the same place in the windshield and simply grows. That is what being on a 3° path looks like from the cockpit, and it is the single most useful image to carry into your own landings.
- The rate of descent. On a 3° path it is roughly five times your groundspeed in knots: at 65 knots, around 325 feet per minute. Watch how steady it is.
- The PAPI. Two white and two red beside the runway means on the path. The autopilot keeps it that way without the big swings a beginner makes. The full table is in how to land a Cessna 172.
- The flare. In the last few metres the power goes to idle and the nose comes up a little, the descent dies just as the main wheels touch, and only then does the nosewheel come down.
Two tools make this a study session rather than a film. P pauses, so you can freeze the picture on short final and look at where the runway sits. V replays the last minute, so you can see the flare again from a different seat.
Now fly the same approach yourself
Press R, press A to make sure the autopilot is off, and fly the identical approach by hand. Turn the coach on with F1 in its Simple mode and it will call the next step with the key for your device.
The three holds are now your job, and each one is a habit:
- Heading, with your fingers off the keys. Tap ← or → and let go. In Open Flight World the controls ask for a rate of turn, so the aircraft keeps the bank you left it in and the nose stays where you put it. There is nothing to trim. Lining up is a tap, a pause, and a tap back.
- Altitude and path, with the power. A little Shift if you are low, a little Ctrl if you are high. Small and early, the way you watched it being done.
- Speed, with the nose. ↓ raises the nose and slows you down, ↑ lowers it and speeds you up. Flaps come out one notch at a time with [, below their limit speed.
When it goes wrong, go around: full power, stop the descent, flaps in with ], and come back. Landing from a bad approach is the mistake, not going around.
What the autopilot will not teach you
It flies the numbers, so it will not teach you the decisions: when an approach has gone far enough wrong to abandon, how much correction is too much, what a crosswind feels like in your hands. It also will not teach you patience, which is the real skill behind a stable approach. The honest division of labour is this: the autopilot shows you the target, and you spend your flights closing the gap.
Once the Cessna lands cleanly every time, the demonstration is worth repeating in something heavier, where a stable approach matters more and the margins are thinner: the Pilatus PC-12, the ATR 72-600, the Challenger 350, the A320neo, the 787-9 or the A380, each with its own 3D cockpit. Or take the lesson somewhere that punishes a sloppy path, from the list of best airports to fly in a simulator.
Frequently asked questions
How do I turn the autopilot on in Open Flight World?
Press A on the keyboard, Y on an Xbox controller or triangle on a PlayStation one. Press it again to take the controls back.
Can the autopilot land the plane for me?
Yes. Every runway has its localizer and a 3 degree glide path, so the autopilot can fly the approach to any runway, flare, brake and stop on the centreline, with reverse thrust on the aircraft that have it.
What do heading, altitude and speed holds actually do?
Heading hold keeps the aircraft pointing at one bearing, altitude hold keeps it level at one height, and speed hold keeps one airspeed. Together they fly a straight, level, steady leg, which is the shape every good approach is built from.
Is using the autopilot cheating?
No. Watching it fly one stable approach from the chase camera is the fastest way to see the picture you are aiming for. Then take the controls and fly the same approach yourself.
Which aircraft can I practise this in for free?
The Cessna 172 at London City (EGLC) is free, in photorealistic 3D, with no account, no ads and no time limit. The rest of the planet in 3D, the other nine aircraft and every other airport are paid.